
Step 1: Soak the Oats
In a small bowl, pour boiling water over rolled oats. Stir, cover, and let sit for 20 minutes. This step is non-negotiable—it creates that incredibly moist texture.
Step 2: Preheat and Prep
Preheat your oven to 350°F (175°C). Grease and flour a 9×13-inch baking pan (or line with parchment).
Step 3: Cream Butter and Sugars
In a large bowl, beat butter, granulated sugar, and brown sugar until light and fluffy, 2-3 minutes.
Step 4: Add Eggs and Vanilla
Add eggs one at a time, beating well after each. Beat in vanilla.
Step 5: Combine Dry Ingredients
In a separate bowl, whisk together:
Flour
Baking soda
Salt
Cinnamon
Nutmeg
Cloves (if using)
Step 6: Add Oats and Dry Ingredients
Stir the soaked oats into the butter mixture. Then gradually add the dry ingredients, mixing until just combined. Do not overmix.
Step 7: Bake
Pour batter into prepared pan and spread evenly. Bake for 30-35 minutes, until a toothpick inserted in the center comes out clean.
Step 8: Cool Slightly
Let the cake cool in the pan for 10-15 minutes. (The topping goes on a warm cake.)
Step 9: Make the Topping
While cake cools, combine in a medium saucepan:
Butter
Brown sugar
Heavy cream
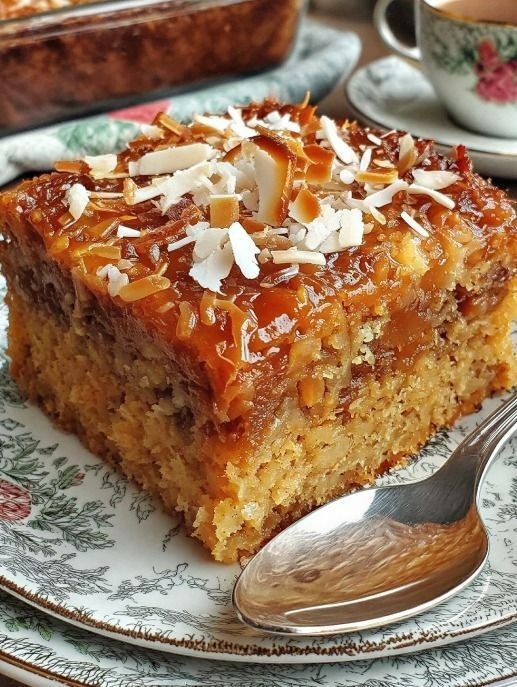
Heat over medium heat, stirring constantly, until butter is melted and sugar is dissolved. Remove from heat and stir in coconut, nuts (if using), and vanilla.
Step 10: Spread and Broil
Spread topping evenly over the warm cake. Place under the broiler for 2-3 minutes, watching constantly, until bubbly and golden brown. It burns fast—do not walk away.
Step 11: Cool Completely
Let the cake cool completely in the pan before slicing. The topping will set as it cools.
Pro-Tips for Oatmeal Cake Perfection
1. Use Old-Fashioned Oats
Quick oats won’t give the same texture. Old-fashioned rolled oats are essential.
2. Don’t Skip the Soak
That 20-minute rest allows the oats to absorb water and plump up, creating the cake’s signature moistness.
3. Don’t Overmix
Once flour is added, mix just until combined. Overmixing develops gluten and makes the cake tough.
4. Watch the Broiler Like a Hawk
The topping goes from perfect to burnt in seconds. Stay right there, watch constantly, and pull it the moment it’s bubbly and golden.
5. Cool Completely Before Slicing
The topping needs time to set. Patience rewards you with clean slices.
6. Make It a Day Ahead
This cake is even better the next day. The flavors deepen, and the topping softens slightly.
For Complete Cooking STEPS Please Head On Over To Next Page Or Open button (>) and don’t forget to SHARE with your Facebook friends
ADVERTISEMENT
